


 Feel free to hang out and lurk as long as you like. However, we would like to encourage you to
 Tom
0
- Joined
- Jul 6, 2004
- Messages
- 5,240
- Reaction score
- 2,231
- Location
- Santa Fe, TX
- First Name
- Tom
- Last Name
- Lowry
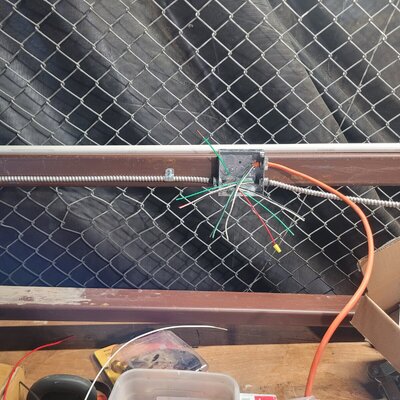
Cool project! BTW, how ya liken your 230?I recently pick up a used Kendon Single Ride up folding trailer. I want to also use this as sort of a mini-utility trailer so I fabricated up some removable rails. I decided to do the rails in 2 sections rather than one complete section to make removeable easier when no helpers are available. I still need to paint the rails to match but I think it will work out well.
View attachment 376192
View attachment 376193
View attachment 376194
 ...
...


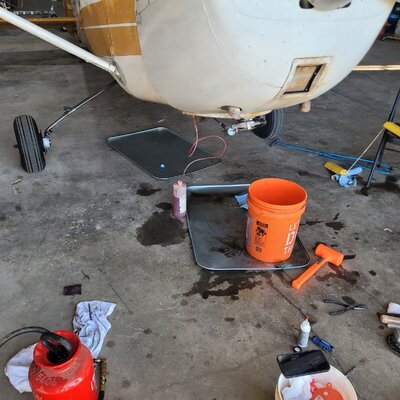
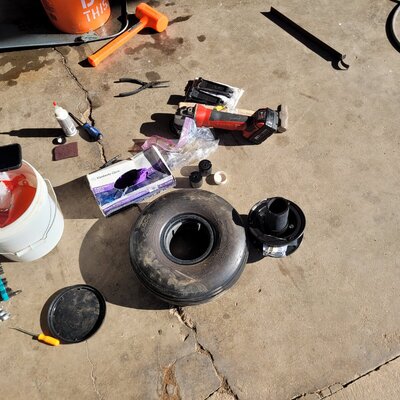
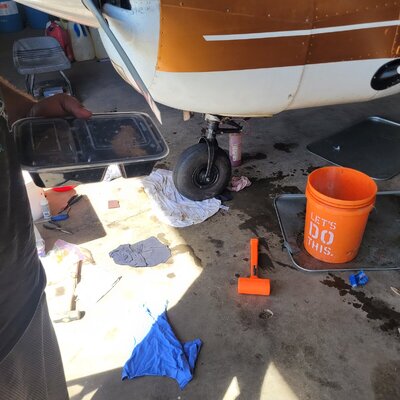


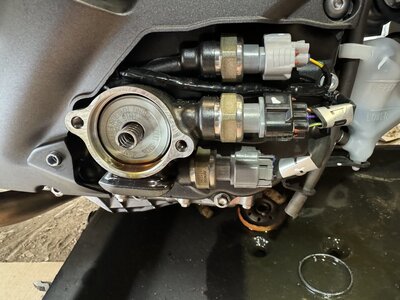
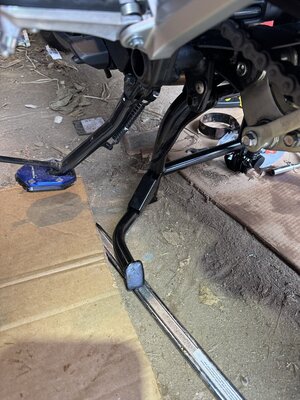
 So now parts are ordered and back apart she comes.